So, I’ve been wanting to make a new wreath for our apartment for awhile, and my original plan was to make a cool wreath that had our apartment number on it, but we want to buy a house soon, and since I’m going to have a new address (whenever we do move) I didn’t want to do one with our current address.
So I decided to revamp.
I found this cool weaved wreath at Goodwill for .49 cents and I figured it could be a good base wreath for what I wanted. 
I decided I wanted to work with things I already had, without spending a lot of money. So I used the weaved wreath I found, fabric that I already had, corks that were left over from my wedding, and I purchased a wooden “Y” (For our last name) which I only spent $1.00 on.

I started by using Hot Glue to attach the corks to the wreath. I didn’t attach them in any particular design, or manner, I just attached them. Be careful when attaching the corks if you are using a wrapped wreath like I did, because the Glue can drip through and burn you if you’re not careful.


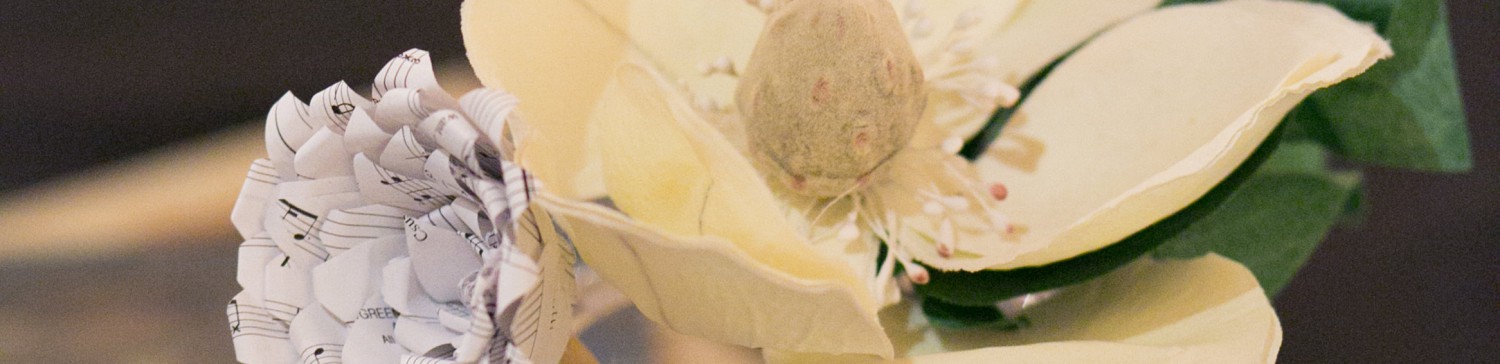
I then made flowers out of fabric that I have had for awhile but I didn’t have enough to make anything significant, so I knew it would have to be something small. I started by cutting out the petals into four different sizes; Small, Medium, and Large and Extra Large. The Small are about half an inch wide at the base, and an inch tall, the medium are about three fourths of an inch wide at the base and an inch and half tall, and the large ones are about an inch wide at the base and two inches tall, the extra large are about an inch and a half at the base and two and one third inches tall.

To make the flowers, I took a “petal” and used a needle to make tiny stitches in and out of it so that it would “sinch” tight like a ruffle. I did this until I had enough petals to form a flower. Once I had enough petals to make a flower, I would stitch is shut so it was tight and begin on the next flower. Make as many flowers as you want in the four sizes.


Once I was done with my flowers I attached them to the wreath with hot glue. I started with a large flower, then attached a medium flower on top of it, and a small on top of that so that it would look like one very large flower. Then I added some gold beads to the center of the flower for a little more pizzazz.

I also took the “Y” and painted it Orange because my flowers were Orange and White. I then attached the Letter to the wreath with, yes, Hot Glue. (Seriously, Hot Glue is one of my favorite things!)

I weaved some ribbon through the wreath for hanging and then,

Voila! All done! Very simple, but really pretty wreath!


